User Type > Faculty or Admin
NOTE: If your institution is using Single Sign-On to access the Stemify platform, then users should not be manually added to the platform. Please contact your Stemify Account Administrator to add a new user, or contact support@stemify.ai for assistance.
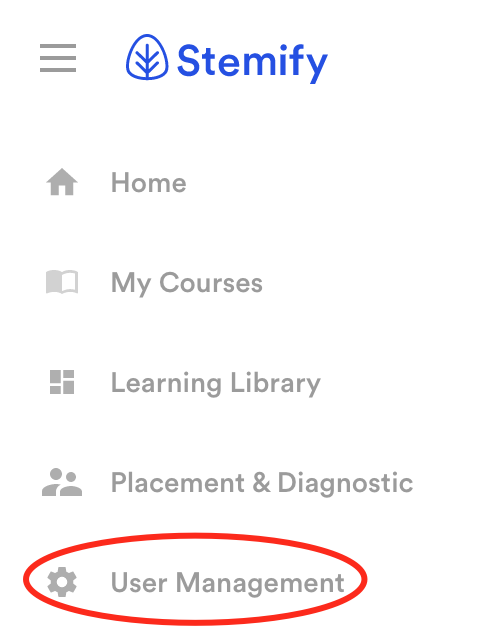
To manually add a student to the platform, access the navigation menu by clicking on the three grey vertical bars next to the Stemify logo in the top left corner of your screen. Click User Management from the drop down menu that appears.

The Accounts page will be displayed.
Click on the red circle with a plus sign located in the top right corner of the screen.

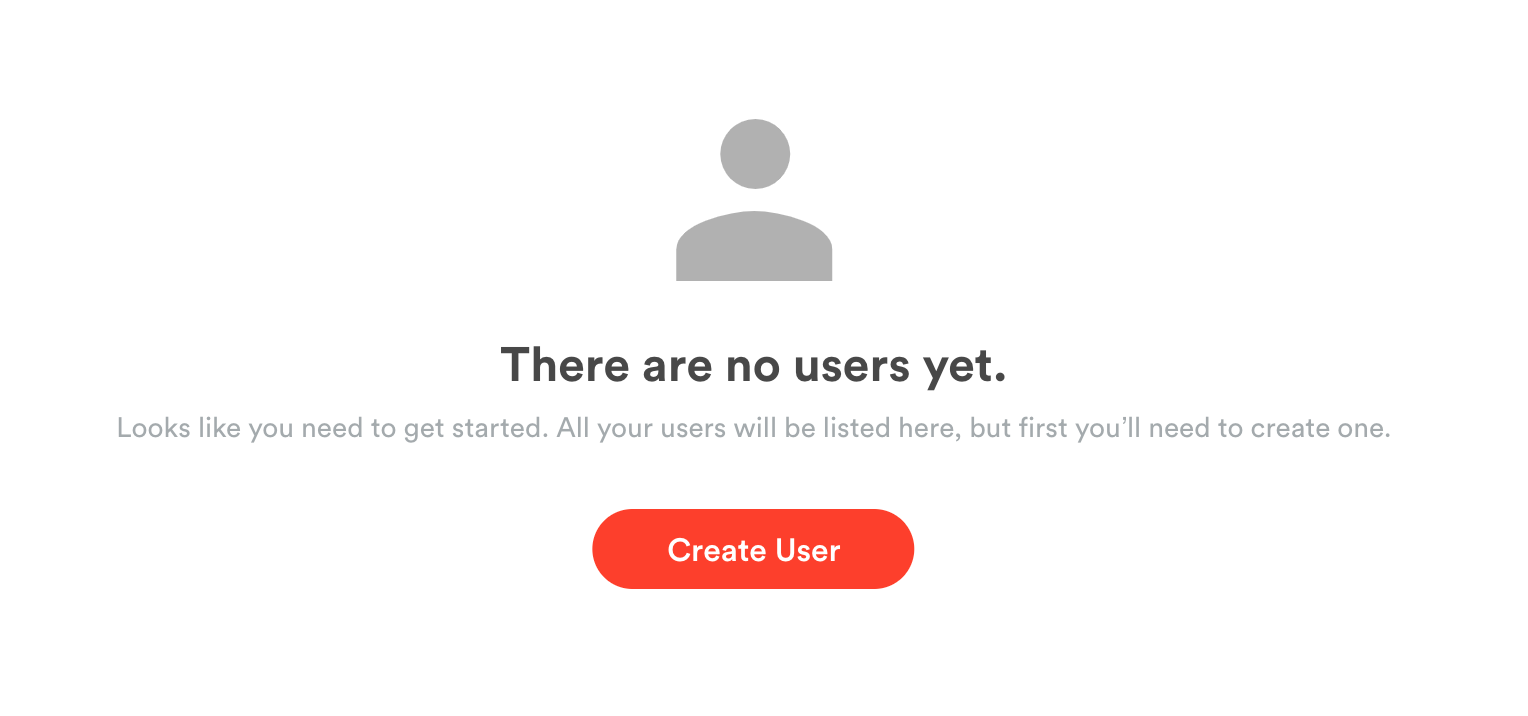
In this example, no users have been created for this account yet. Begin by clicking the red Create User button.

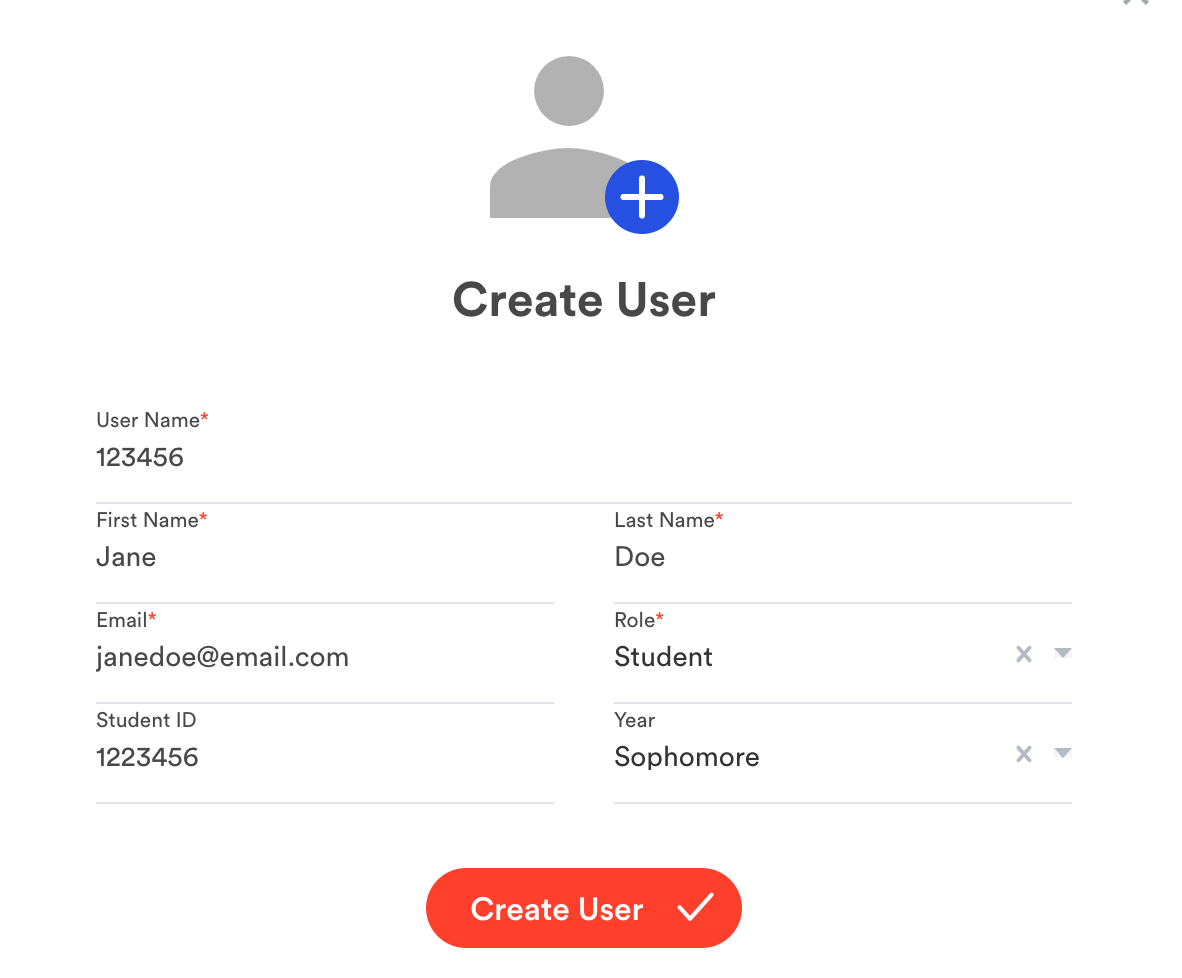
Fill in the Create User form with the student's:
- User Name (should be the same as the student's school User ID)
- First Name
- Last Name
- School email address
- Role (student)
- Year (freshman, sophomore, junior or senior)
- User ID - (should be the student's school User ID)
Click the red Create User button when you are done filling in all of the fields.

You should be returned to the Accounts page where you will now see the student's account.
The student will automatically receive an email with the subject line "You've been invited to Stemify." The email will contain a link to the platform, their user name, and a temporary password to log in.
If you are using Stemify for Placement and/or Assessment / Diagnostic Exams and would like to assign the student to an exam, you will need to add the student to a cohort and a deployment. Please see these related articles:
Related Articles
- What is a cohort?
- How do I add a student to a cohort?
- What is a deployment?
- How do I add and remove students from a deployment?
Comments
0 comments
Please sign in to leave a comment.